Moving sd.ai to Ghost


I've moved my blog to a self-hosted instance of Ghost. Let's talk about it.
Ghost is an open-source content-publishing platform with support for subscriptions and paid content. I don't need these features, but on its own, it makes for an excellent authoring tool with all the features I need.
Until now, I've been using Hugo to build my site. It's a static authoring tool that uses a collection of markdown files as the source. It does the job well, but I've heard good things about Ghost and wanted to try it out. I've left my old content behind. There wasn't a great deal there, and if you followed my "running your own personal mailserver in 2019" instructions in 2023, you're likely to have a bad time.
One advantage of Ghost over Hugo is that, as the editor is in my browser, there is Grammarly support. I didn't have that in my IDE when editing the markdown files.
Here's a brief run-down of the steps I took to get it working:
- Install Ghost on my server using Docker-compose
- Install a local copy of Ghost for developing my theme
- Create a new theme and install it on my production server
I'll briefly describe these steps. There's no point in repeating the documentation, but I'll set up some pointers for those who want to follow along.
Installing Ghost
The documentation is good, so I will only mention the times when I deviated from the recommended setup. I use an instance of Portainer to manage the stuff running in my hosting environment. It's a graphical wrapper around docker-compose, but you can set this up directly with compose.
My compose file looks something like this:
version: '3.1'

volumes:
  db:
  content:

services:
  ghost:
    image: ghost:5
    ports:
      - 127.0.0.1:3060:2368
    environment:
      # see https://ghost.org/docs/config/#configuration-options
      database__client: mysql
      database__connection__host: mysql
      database__connection__user: root
      database__connection__database: ghost
      database__connection__password: XXXXXX
      mail__transport: SMTP
      mail__options__auth__user: XXXXXX
      mail__options__host: XXXXXX
      mail__options__secure: true
      mail__options__auth__pass: XXXXXX
      url: https://sd.ai/
      admin__url: https://XXXXXX.sd.ai/
    volumes:
      - content:/var/lib/ghost/content
    depends_on:
      - mysql
    restart: always

  mysql:
    image: mariadb
    volumes:
      - db:/var/lib/mysql
    env:
      MYSQL_ROOT_PASSWORD: XXXXXX
      MARIADB_MYSQL_LOCALHOST_USER: 1
      MARIADB_AUTO_UPGRADE: 1
    healthcheck:
      test: ["CMD", "healthcheck.sh" ,"--su-mysql", "--connect", "--innodb_initialized"]
      interval: 20s
      timeout: 3s
    restart: always
There are a few things of note here:
- We explicitly map the port to 127.0.0.1
- This setup uses MariaDB instead of Mysql
- Email is configured via raw SMTP instead of the recommended Mailgun
Port mapping for Localhost
services:
  ghost:
    image: ghost:5
    ports:
      - 127.0.0.1:3060:2368
I'm running an Nginx reverse proxy on the box that runs Ghost. I don't want the service binding to an additional external port on my machine. (The firewall should prevent this anyway, but it's best to keep the port internal as an extra security measure.)
Using MariaDB over Mysql
Since Oracle bought Mysql, I've been using MariaDB. This is a fork of MySQL, which has more features whilst remaining backwards compatibility. It's the more 'open' choice.
Ghost will complain about the version number if you run MariaDB, and this setup isn't officially supported. It seems to work fine, though.
Using Email over SMTP
Ghost requires Mailgun to send newsletters. If you want to use this feature, you must set it up. I don't have an account with them and don't want to set one up. For password reset and admin emails, it's still happy to use SMTP (although the documentation isn't clear on this). I don't plan to use the membership features, so I'm happy to leave this off.
Installing a local copy of Ghost
Ghost comes with a nice-looking minimal theme, but if you want to do anything significant with it, you'll need to modify it or create your own.
You will want a local install to save you from having to debug in production. This is very easy to set up and uses an internal SQLite database, so you don't need to set up a database server.
There is a command-line tool that does all of the setup for you. You can install it with npm, and then use it to set up a new Ghost instance in an empty folder:
# install Ghost CLI tool:
$ npm install -g ghost-cli

# Create a new directory for your local instance
$ mkdir ~/ghost
$ cd ~/ghost

# Install a new instance
$ ghost install local
That's it! You should now have an instance running on http://localhost:2368
Creating a Theme
This is the part that the documentation could be clearer on: Getting a theme installed and up and running for development.
It's actually quite easy to get started. The default theme, Source, is minimal and easy to modify. Here's how I did it:
Clone the main theme to your local instance, and give it a new name:
# Assuming Ghost is installed in ~/ghost/, clone the theme directly into the themes directory
$ git clone [email protected]:TryGhost/Source ~/ghost/content/themes/my-new-theme

# Fork the repo somewhere and point your local installation at it
$ cd ~/ghost/content/themes/my-new-theme
$ git remote rename origin upstream
$ git remote add origin [email protected]:my-git-account/my-new-theme
$ git push -u origin main

# Start the dev server, so any changes are automatically compiled
$ yarn dev
You'll then need to edit package.json so that the "name" field matches the directory name you have cloned into:
"name": "my-new-theme",
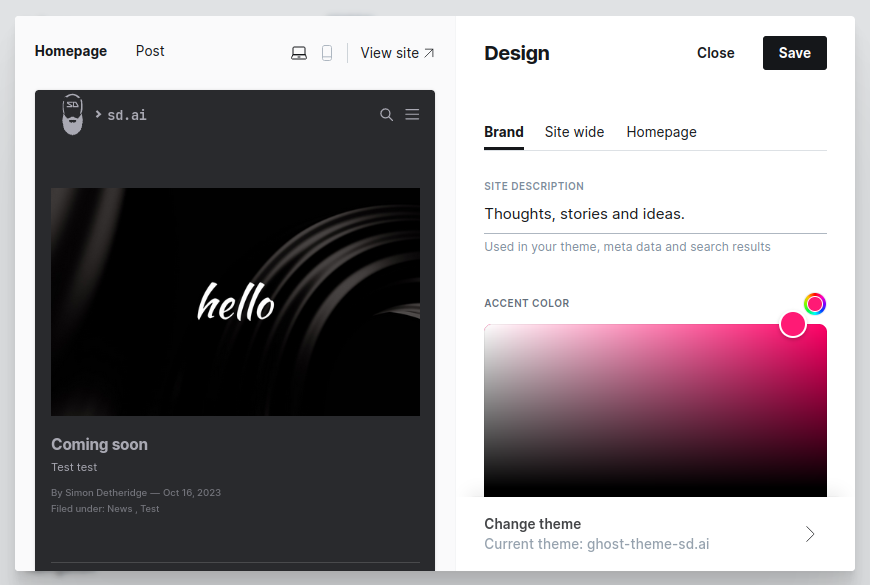
"description": "A great theme for my new website",Finally, you need to select the theme in your Ghost settings. Under "Design and Branding", click "Customize". On the bottom-right, you can then click "Change theme".
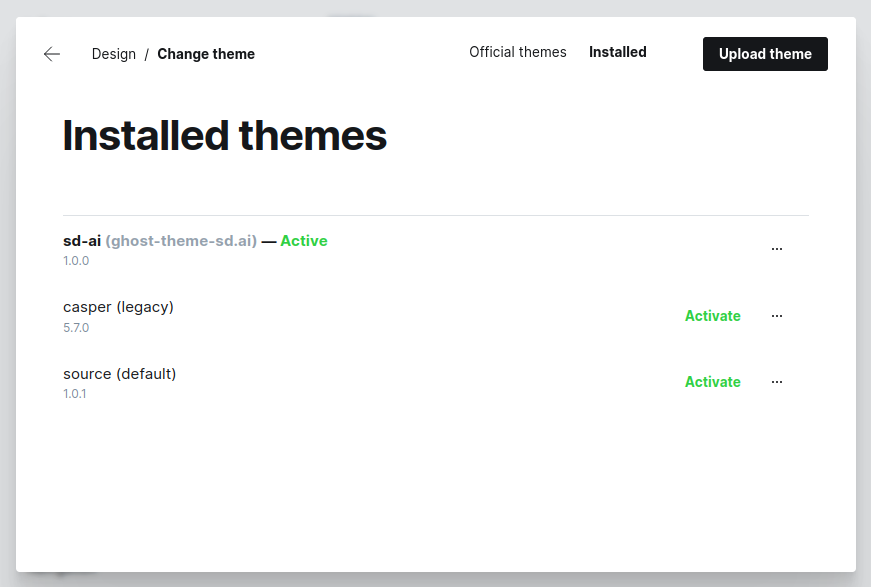
At the top of the theme selector, choose "installed themes". You should see your new theme in there alongside Casper and Source. Click "Activate".
From this point, any changes you make to the theme source should be automatically recompiled. Refresh the page to see your changes.
When you are ready to deploy your theme, run:
$ yarn test
$ yarn zip
This will test your theme for compatibility and create a zip file in the dist directory, which you can upload to your production instance via the theme chooser.
Follow-up and Next Steps
My current theme is available at https://git.sd.ai/simon/ghost-theme-sd.ai, so any features you see here will be implemented in that repository.
I've relaunched the blog with an integration that uses Mastodon as a commenting system. My next post will cover how this works in detail.
Comments
Comments powered by Mastodon. Reply to this status to comment.
(click to copy)